|

World War 1 had four major naval battles -- Jutland, the Dardenelles, Coronel and the Falkland Islands. They changed the path of the Great War and were never forgotten by the sailors on all sides who fought those battles. |
In the late 1800s, England, Germany, other European powers, Japan and the United States began to continually develop fleets of strong, modern naval forces until the Great War broke out in 1914. As with the American Great White Fleet's 1908 world cruise, the impressive, powerful warships had been an excellent means to extend a nation's diplomatic and commercial influence in the era of colonies and growing commercial global competition in the sea lanes. The Great War put all to the supreme test for four years.
Light Cruiser S.M.S. Emden of the German Asiatic Squadron.
Battles At Coronel and the Falkland Islands
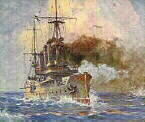
Leading a part of the Imperial German Navy's battle fleet at sea was the 13,200 ton Battleship SMS Deutschland. She was one of five ships in her class capable of 18.5 knots and armed with four 11 inch, fourteen 6.7 inch, twenty-two 3.4 inch, eight smaller guns and six submerged torpedo tubes.
Both ships with the Asiatic Cruiser Squadron under Admiral von Spee sailed across the Pacific from China after the war started in 1914. On November 1, at Coronel off the west coast of South America, von Spee engaged and destroyed a British squadron under Admiral Craddock. After rounding Cape Horn, von Spee's squadron encountered a superior British naval force at the Falkland Islands on December 8 leading to the destruction of the German squadron in the battle that followed. |
 Following the outbreak of The Great War in 1914, the SMS Emden was detached from Admiral von Spee's German Asiatic Squadron. The (VISIT LINK)
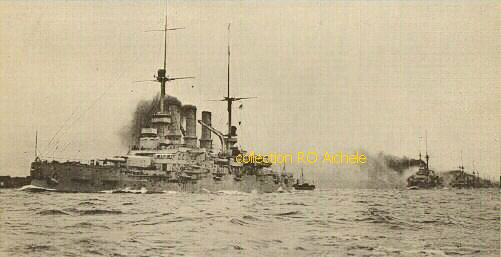
 The Imperial German Navy's Armored Cruiser SMS Sharnhorst was assigned to the Asiatic Cruiser Squadron to help protect German colonies in the Pacific and China. The 11,600 ton cruiser was capable of 22.5 knots, carried 2,000 tons of coal and 200 tons of oil. She was armed with eight 8.2 inch, twenty 3.4 inch and twenty smaller guns. Her sister ship was the SMS Gneisenau.
Naval Actions During The Dardenelles - Gallipoli Campaigns
Before the war began, the British and French strategy was to quickly gain control of the Turkish Dardanelle Straits to use the waterway as the maritime supply route from the Mediterranean into to the Black Sea and Russia. According to a document published in 1930 in London, the war planners in London led by Winston Churchill had "erroneously supposed that on the analogy of Liege and Namur that the enormous power of modern naval guns would completely overwhelm the forts." November 3, 1914, three days before Britain declared on Turkey, British and French war ships began shelling the outer Turkish forts from a distance. The British ships included the battlecruisers HMS Indefatigable and HMS Indomitable .
Naval operation decame quiet during December and January as British and French consolidated thieir naval forces. Two exceptions were the British submarine B11 sinking an old Turkish warship and the loss of the French submarine Saphir that ran aground. As a result of the sinking, Turkey installed more anti-submarine nets and increased the number of underwater mines in the straits.
On March 6, the British Super-Dreadnoughts shelled the forts at Chanack from the Gulf of Saros, while the other squadron that had penetrated well up into the Straits attacked fortifications there. Little progress was made. On March 18, the super-Dreadnoughts were brought round to the entrance of the Straits to carry out long-distance bombardments. "The Allied fleets attacked the Turkish forts at the entrance of the Straits and soon silenced them. These were old fashioned stone structures of great strength; they were knocked about and made untenable by the fire from the ships, but not destroyed. After this first easy success came delay, for the real obstacles lay within the Straits, between Cape Helles and the Narrows. Here, at intervals, many Turkish guns very skillfully laid and ranged to the inch commanded the waters. Eight Turkish minefields stretched almost across the navigable channel in different directions. No ships could pass this part of the Straits until the mines had been groped for and removed. In thick and violent weather, under heavy fire and troubled by the strong currents, the minesweepers began to remove them. Turkish hidden guns on land firing continually upon the minesweepers made the clearing of the mine-fields towards the Narrows a slow and bloody task," according to published records by John Masefield in 1917. On March 18, the British and French ships "developed a fierce fire upon the shore defences" as they attempted to force their way past. The British and French admirals in charge had concluded after the minesweeping a week earlier the only threat to their ships forcing the Straits would be from Turkish shore artillery. They did not know that several days earlier on a nighttime mission, the Turkish minelayer Nusrat laid 26 new underwater mines at a depth of 4.5 meters and spaced 125 meters apart. Unlike the other mines that had been laid across the channel, these new mines were laid parallel to the Straits' eastern shoreline. As the naval battle was underway, the French and British warships maneuvering took them into the area of the new minefield. In the course of an hour and a half, the mines took their toll. The HMS Irresistible struck one of the mines and the explosion flooded the starboard engine room causing the ship's centerline bulkhead to collapse resulting in the port engine room to quickly flood. Almost all engine crew men were killed. As the ship settled and drifted it came under direct fire from Turkish gun batteries. An attempt by the HMS Ocean to tow the heavilly damaged HMS Irresistible failed forcing the ship to be abandoned before it sank. That attempt by the HMS Ocean to tow the HMS Irresistible placed the HMS Ocean in the same minefield where she hit another Turkish mine. In adition to the flooding from the mine explosion it was followed by receiving a number of hits from Turkish shell fire. The HMS Ocean had to be abandoned and later sank. The end of the French battleship Bouvet happened quickly. She received eight hits from shore batteries before striking another of the Turkish mines on the starboard side. The force of the explosion and flooding caused the ship to capsize and sink in less than two minutes with the loss of the entire 660 man crew.
The French battleship Gaulois was hit by shell fire from shore batteries. One shell hti at the waterline causing serious flooding and to o prevent the ship from sinking in the Straits it was run agound. After the March 6 naval disasters, the naval attack strategy was abandoned. That attempt to force the Straits without the assistance of an army ashore proved to be a fatal mistake by the British planners. It had given the Turkish a warning of an impending invasion landing thereby it afforded Turkish defenders four months time to strengthen the peninsula's defense before the Allied land invasion began. The land invasion aspects of the Dardenelles Campaign including ANZAC actions can be found at War In The Trenches |
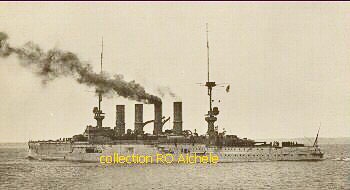
 The German warships SMS Goeben with primary arament of ten 11 inch guns in the five turrets and SMS Breslau armed with ten 4.1 inch guns, reached the Dardanelles on August 10, 1914 six days after Britain entered the war against Germany. The two German ships had been evading several shadowing British warships in the Mediteranean before war broke out. Turkey, still neutral, granted the two German ships permission to sail up to Constantinople.
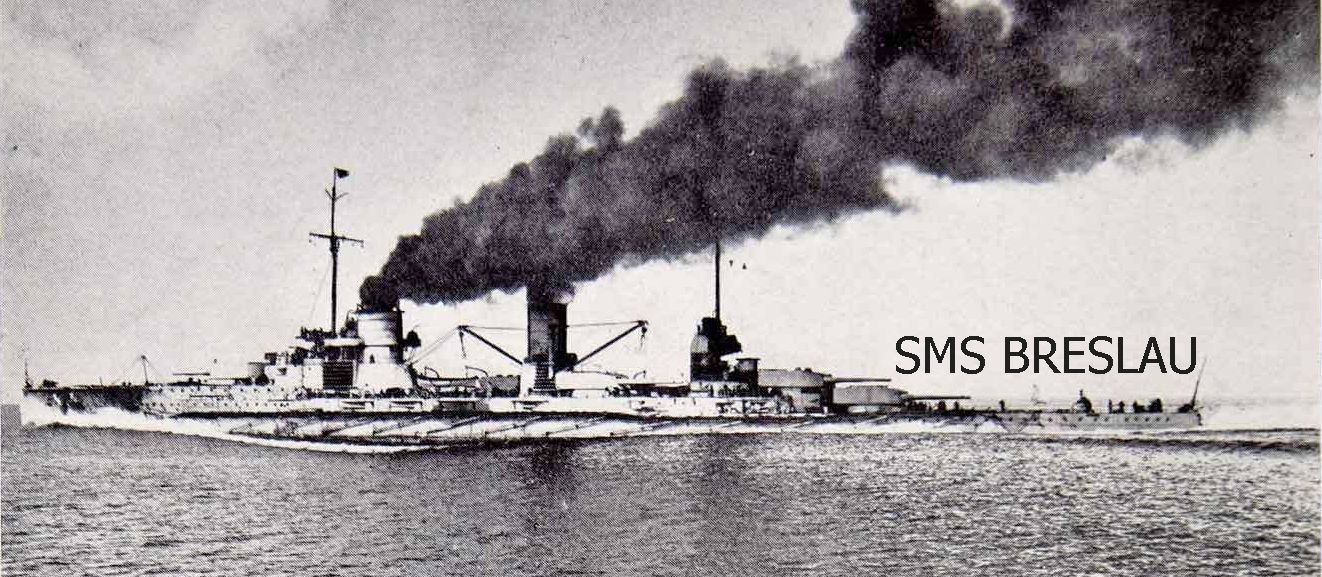 The major British and French naval offensive started several days before November 6 when Britain declared war on Turkey. The objective was to force open the Dardenelles Straits by attacking the Turkish forts along the Dardanelle's Narrows. The Allied planners believed that once these forts were destroyed, the fleet could then sail up to Constantinople, overcome the German SMS Goeben and SMS Breslau and ocupy the city. That overly ambitous plan, however, was not successful because it overlooked many strategic realities according to the British post-war Report of the Dardenelles Commission.
  The real attack was postponed until February 19, 1915 when the French battleship
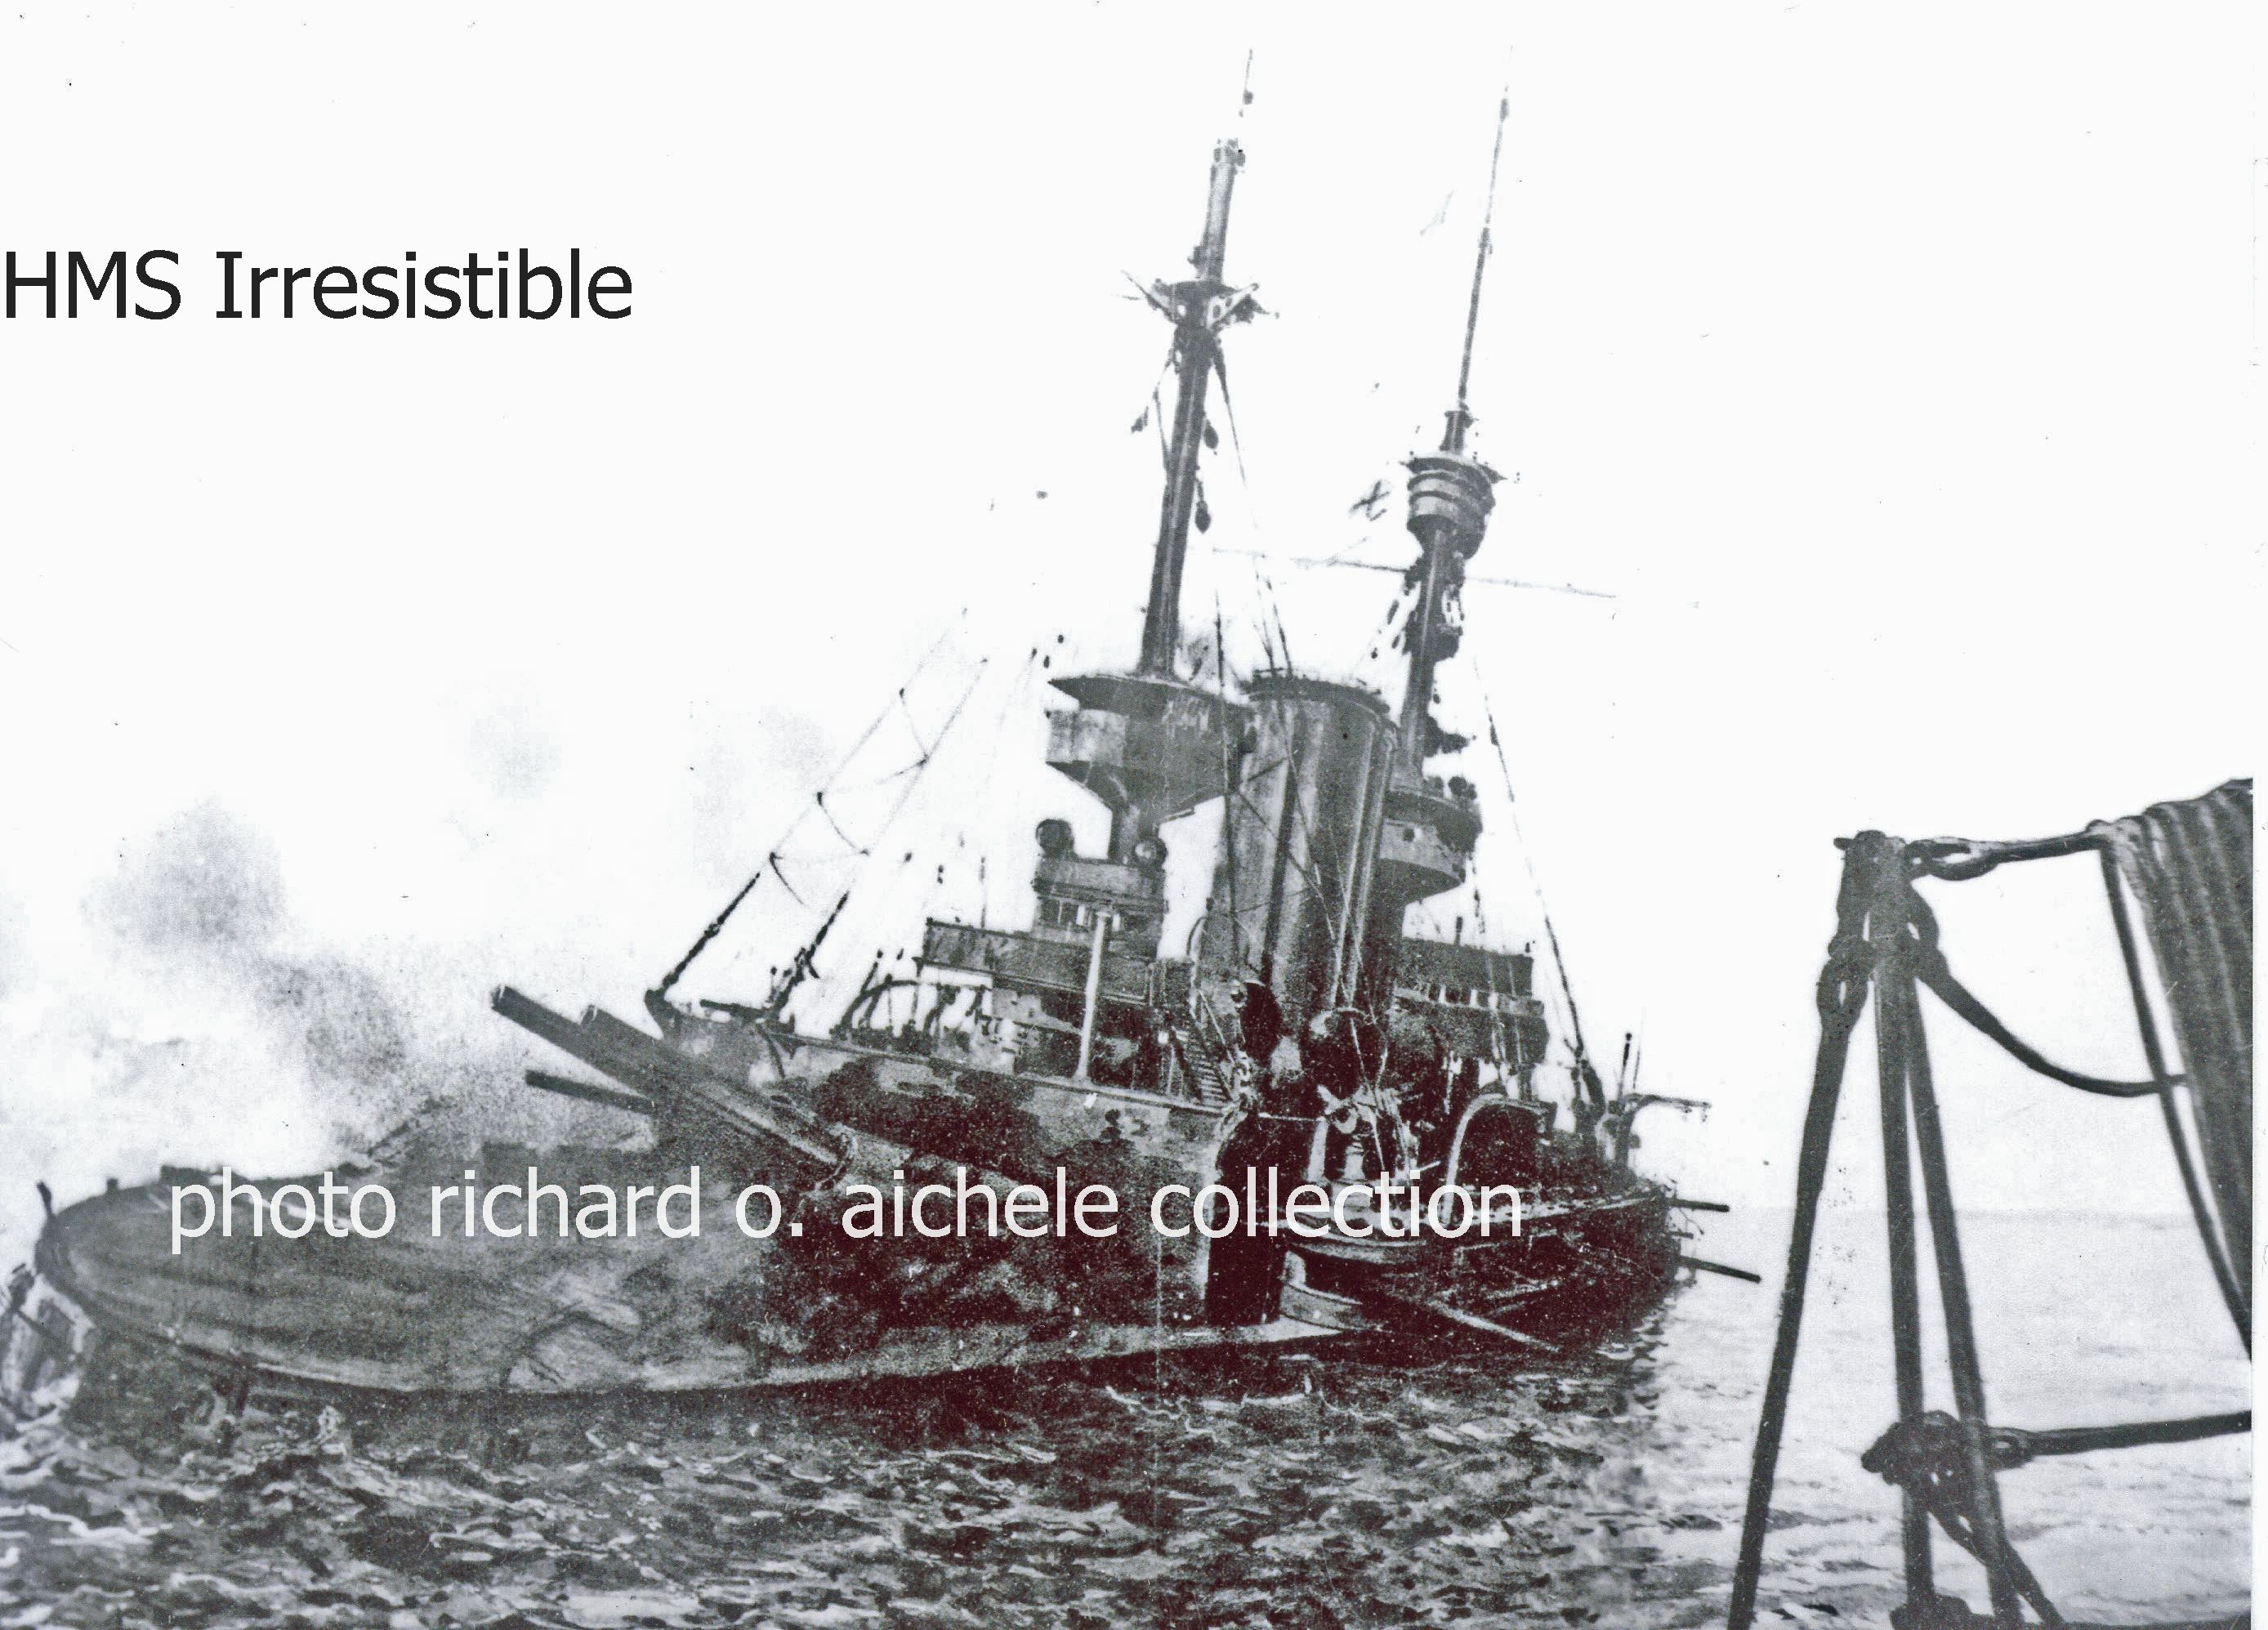
 The French battleship Suffren was hit by 14 shells from Turkish land batteries including one shell that started ammuntion fires at three of the 6.4 inch guns putting them out of action and another heavy shell hit below the water line and the flooding resulted in a list. The major damage was repaired and the Suffren sailed for Lorient, France. Enroute, off the coast of Portugal, she was torpedoed by the German submarine U-52 and the resulting onboard explosion totally destroyed the ship resulting in the loss of its crew.
|
Naval Actions Supporting The Land Invasion The British and French navies continued to blockade the southern end of the Dardanelles while providing fire power and logistics support to the Allied invasion troops. On May 1, 2015 the French submarine Joule hit a mine and sank in the Straits. Also on May 1, the HMS Goliath was attacked and sunk by the Turkish torpedo boat Muavenet Milliye On May 25, 1915 the British battleship HMS Triumph was torpedoed by the German submarine U-21 off Gab Tepe. "The Triumph was listing way over to starboard. She was ready to turn over in a few minutes. We could see the crew jumping into the water. All we could see about the HMS Triumph was a cloud of black smoke but when we looked through the glasses we could see she was going down. When I saw the HMS Triumph again she was bottom up and she must have floated almost half an hour. Then she went down as though there were somebody on the bottom pulling her," according to an account by Albert N. Depew, a gun turret captain, on the French battleship Cassard. Two days later, Depew also witnessed the sinking of the battleship HMS Majestic off Cape Helles. The HMS Majestic was stationary close to shore providing fire support for the troops ashore. The ship was protected by submarine nets and numerous nearby smaller vessels. The German submarine U-21 moved to within 400 yards and its two torpedoes passed through the submarine nets hitting the HMS Majestic. Within seven minutes the battleship capsized. "The sea was crowded with men, swimming and drowning. I saw a lifeboat crowded with men and other men in the water hanging onto her. There were so many hanging onto her they started to pull her under. Of their own accord, the men in the water let go to save the lives of those in the boat. Most of them drowned. The HMS Majestic listed so much the men could not stand on the deck and the sides were covered with men hanging onto ropes not knowning whether to jump into the sea or not. As she went down she turned over. She had torpedo nets on her sides and many of the crew were unable to get clear of the nets and went down with her. Quite a lot were caught below decks and had no possible chance to escape. There was a big explosion as she went under - probably the boilers bursting. Thousands of troops on the shore and thousands of sailors on the ships saw the final plunge and it was a sight to remember." Other naval events included: August 8, 1915, the British submarine E11 torpedoed the Turkish battleship Barbaros Hayreddin. that sank with a loss of 253 crewmen. April 26, 1915, the Australian submarine HMAS AE2 as the first Allied warship to successfully pass through the Dardanelles' mine fields and past the Turkish guns to reach the Sea of Marmara. Mechanical problems including diving plane malfunctions forced the AE2 to surface where gunfire from the Turkish warship Sultanhisar damaged the pressure hull. The crew scuttled the submarine and were captured. October 30, 1915, the French submarine Turquoise ran aground in the Dardanelles and was captured. October 31, 1915, the destroyer HMS Louis ran aground and was wrecked. November 6, 1915, the British submarine E20 was torpedoed and sunk by the German submarine U-14 in the Sea of Marmara. After difficult fighting on land and at sea and the loss of thousands of sailors and soldiers, the ill-fated British / French military campaign ended on January 9, 1916. |
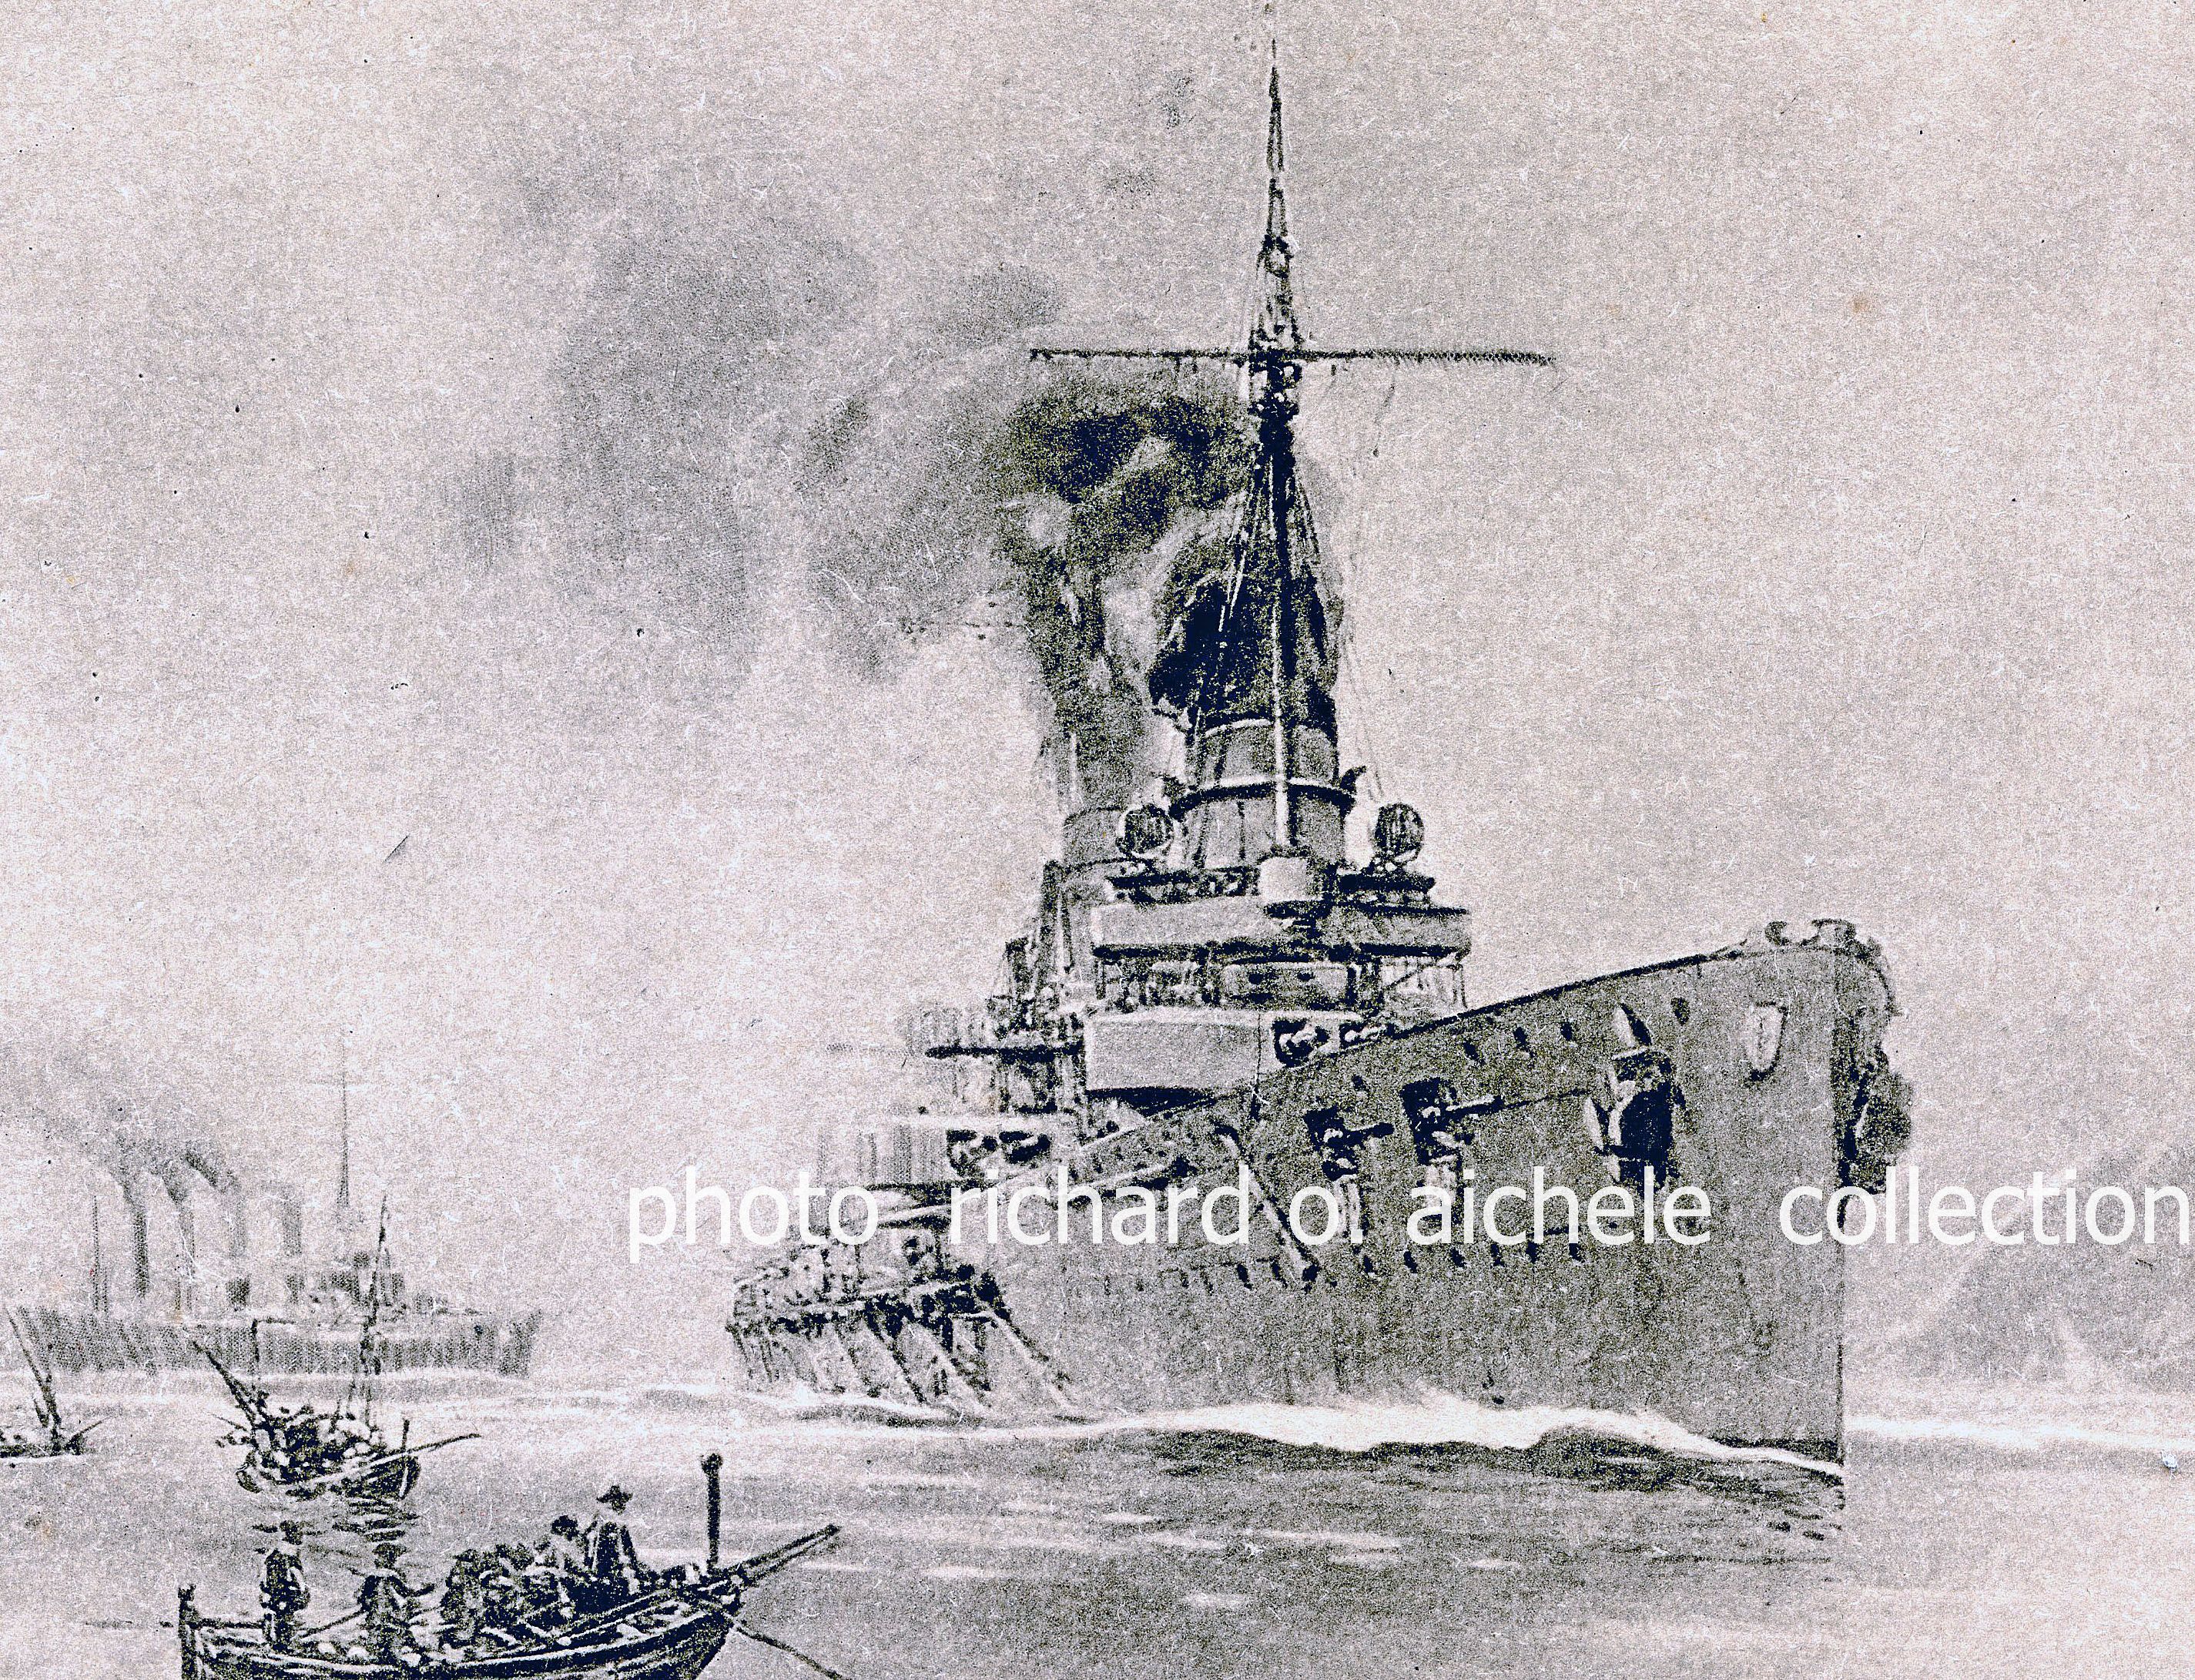
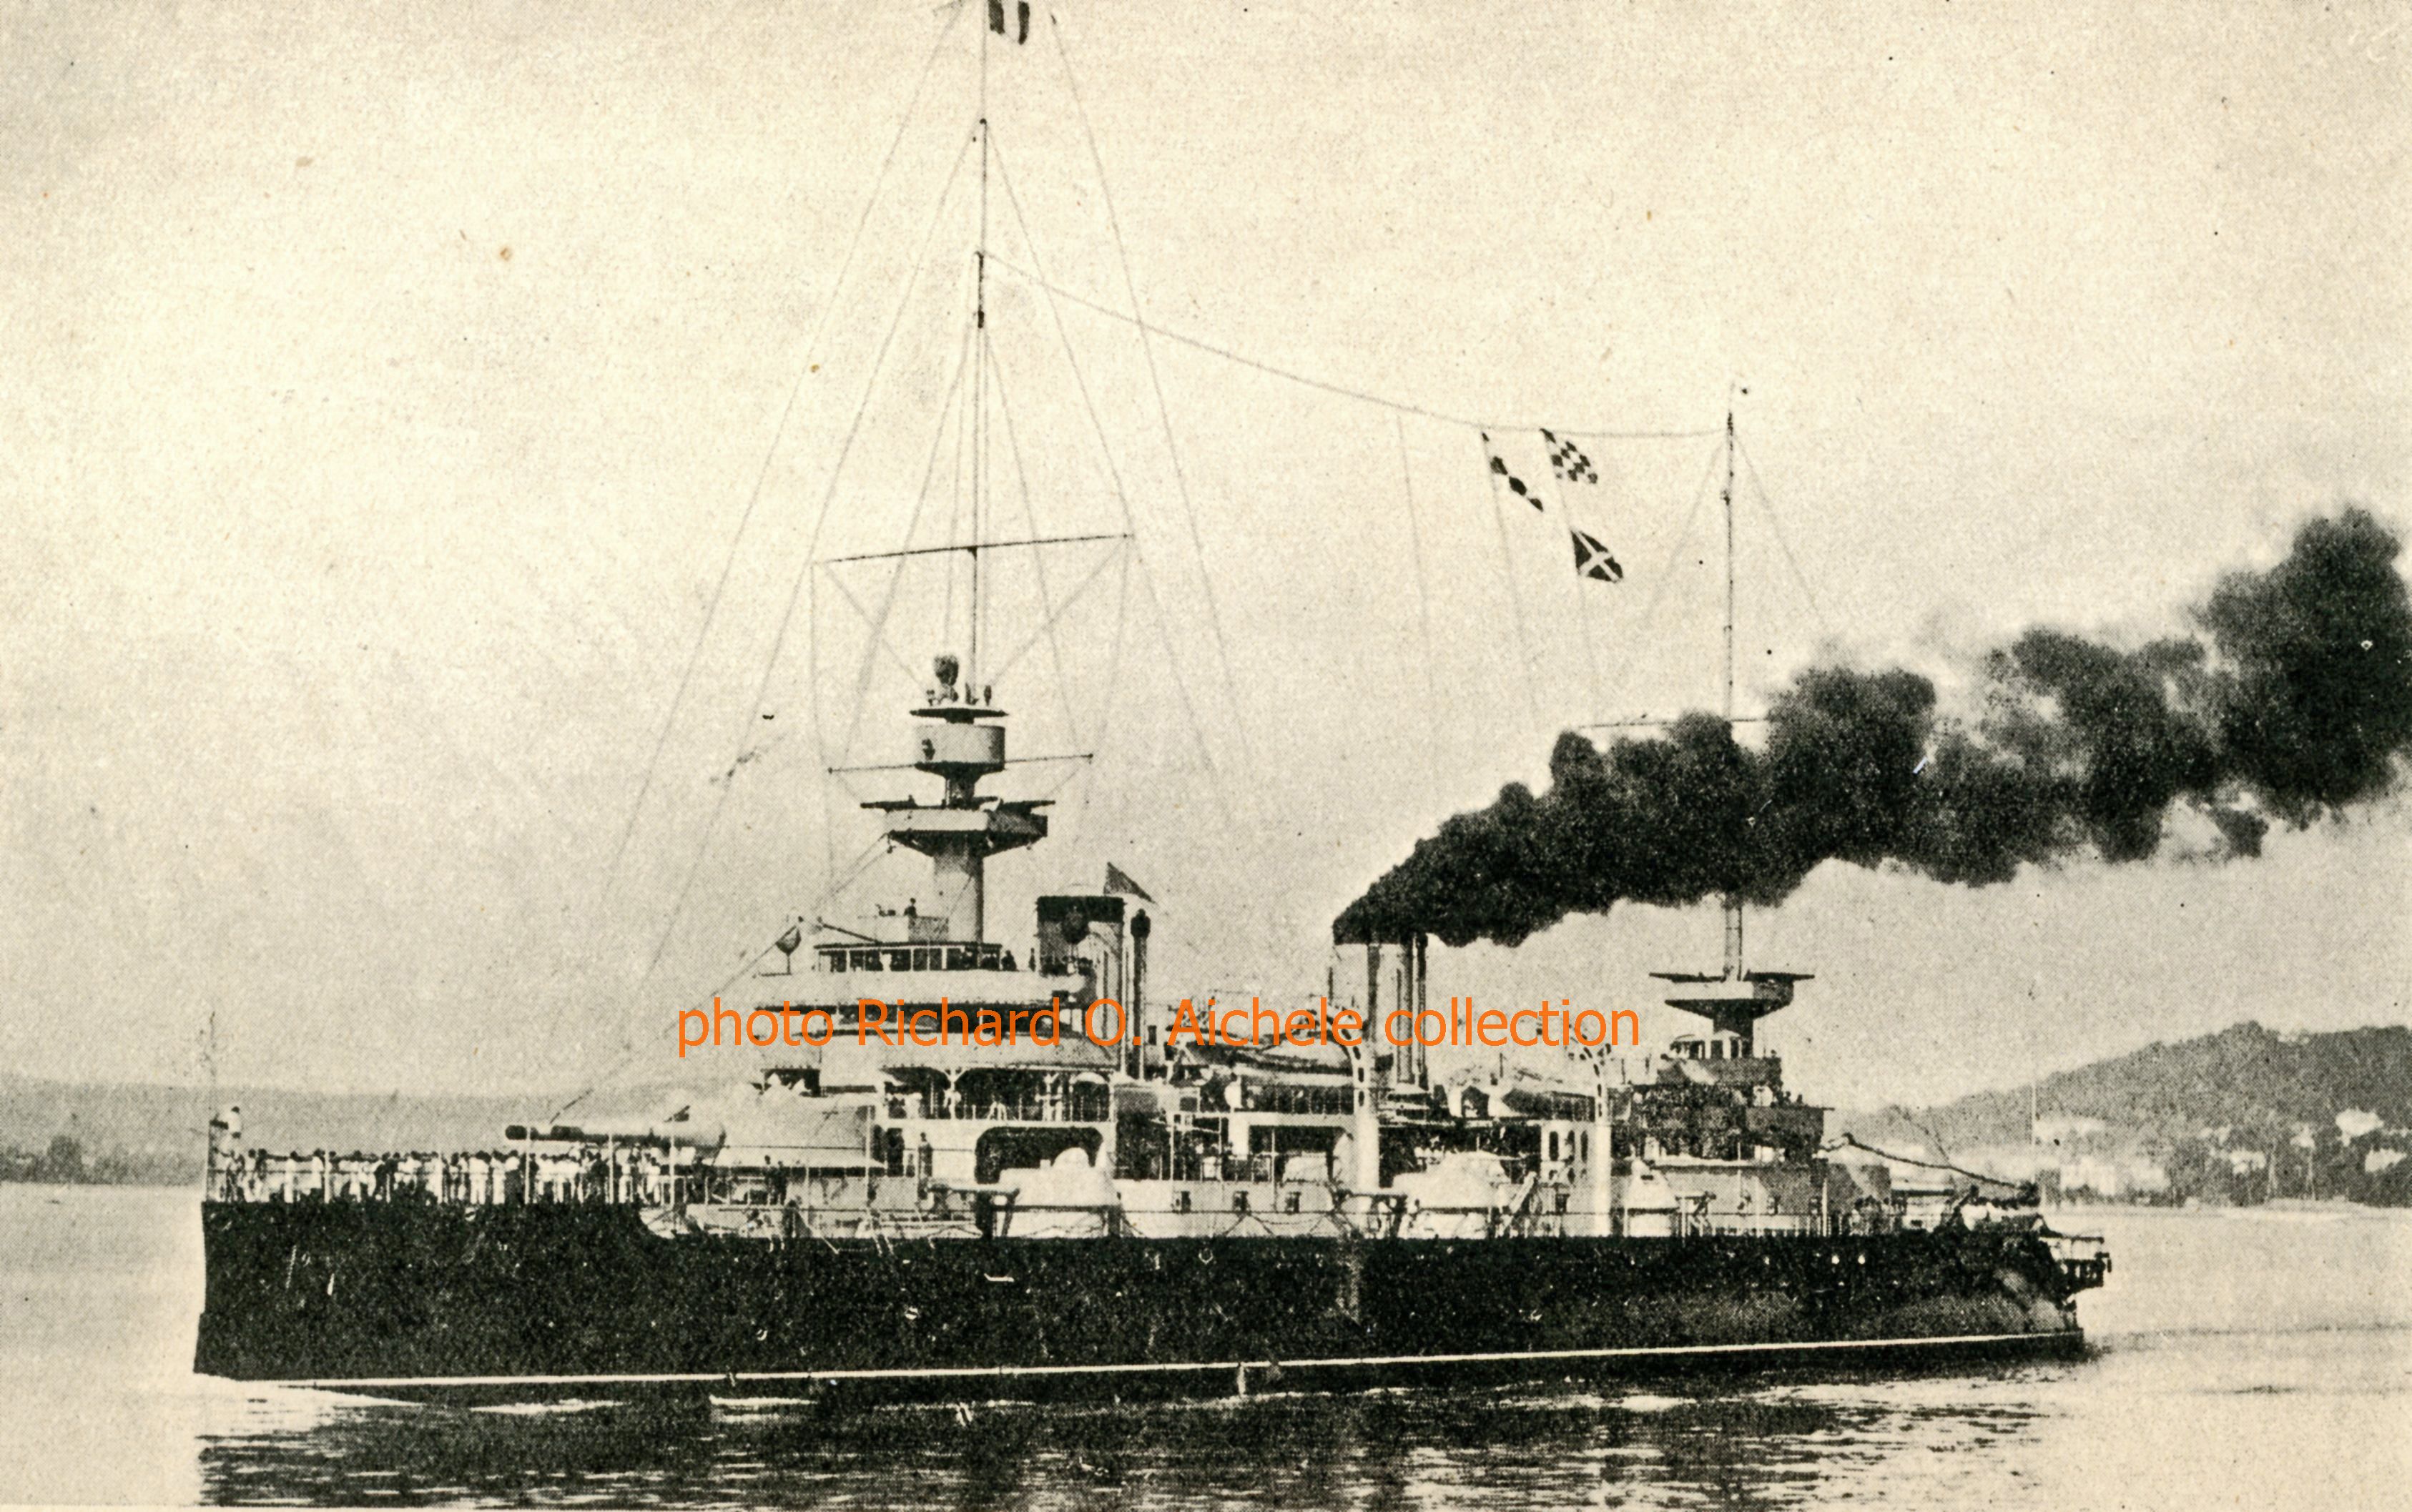
 Photo of the French battleship Jaureguiberry on April 27, 1915 sailing past a hospital ship at the Dardenelles' southern end. Losses to the surface warships continued to be heavy and only a few Allied submarines fought in the Straits and the Sea of Marmara.
|
The Battle of Jutland Der Skagerrakschlacht May 31, 1916
British Navy Battle Cruisers HMS Tiger -- HMS Princess Royal -- HMS Lion at sea before the Battle of Jutland
The Loss of the H.M.S. Queen Mary
A post-battle account by Petty Officer (Gunner's Mate) E. Francis of the HMS Queen Mary's "X" Turret that mounted 13.5 inch guns reported the ship was hit "by a heavy blow" and soon after "came the big explosion which shook us a bit" and "immediately after that came what I term the big smash. Everything in the ship went quiet as a church, the floor of the turret was bulged up and the guns were absolutely useless. I put my head up through the hole in the roof of the turret and I nearly fell through again. The after 4 inch battery was smashed right out of all recognition and then I noticed the ship had an awful list to port." As the surviving crew began to abandon ship, "I clamored over the slimy bilge keel and fell into the water. I struck away from the ship as hard as I could when there was a big smash...the air seemed to be full of fragments and flying pieces. I heard a rush of water...and I realized it was the suction or back-wash from our ship which had just gone."
Description of events by the H.M.S. Lion's Gunnery Officer Photo: Cordite flames shooting out of the battle cruiser HMS Lion's pierced "Q" turret roof (amidships).
"It appears that all the occupants of the gun house proper, most of the silent-cabinet's crew, and most of the working chamber's crew situated directly below the gun-house were killed or severly wounded by the detonation of this shell in the gun-house. The Officer of the Turret, although himself severly wounded, realized that his turret was out of action and on fire, and also that the fire might reach the magazine. He accordingly passed orders by the direct voice pipe down to the handling room below to close the magazine doors and open the magazine flood valves. This order was promptly carried out, and did in fact prevent the flash from the cordite charges reaching the magazines and so the ship from being blown up...The damage and loss of life caused by the actual explosion of the German shell did not extend to the magazine handling-room and shell-room crews, none of whom were wounded, but unfortunately all of them lost their lives through the cordite fire which followed a few minutes afterwards."
Portions of Several Royal Navy Narratives Compiled After the Battle Photo: Massive explosions destroying the HMS Invincible "Through the mist we could distinguish the Rosyth battle cruisers hotly engaged with the enemy whose number and class we could not see. At 6:13 PM the Invincible stopped and clouds of steam came from her exhaust pipes but she appeared undamaged...shortly after she went ahead at 20 knots with the signal to form a single line ahead flying. It was the last time I saw her as a ship." "The enemy's shooting at this time was unpleasantly good, and I observed several salvoes burst alongside and I could hear the whistle of the 'overs." The wreck of the Invincible' was spotted during the battle. Only the bow and the stern projecting straight out of the water were left. There were only six survivors of the 1,025 man crew. Admiral Hood also went down with his flagship. Actions At Windy Corner Photo caption: HMS Princess Royal on left side. German shell splashes to right. HMS Tiger further to right. Several incidents were occuring simultaneously: the Grand Fleet was now well within sight and bearing down in six columns gradually deploying to port; the Lion and the Battle Cruisers heavitly engaged passing us to starboard at full speed and making a wonderful picture, a long cloud of smoke pouring out of a big shell hole in Lion's superstructure forward. From ahead out of the mist appeared the ill-fated 1st Cruiser Squadron." A major incident occured as numerous British light cruisers and destroyers attempting to reach their designated positions crossed the paths of other British ships risking collisions. Further complicating the situation was a decision by Rear Admiral Arbuthnot in charge of the 1st Light Cruiser Squadron to cross the paths of Beatty's battlecruisers to attack the disabled German light cruiser SMS Wiesbaden. The HMS Warrior from the 1st Light Cruiser Squadron narrowly escaped a collison with the HMS Lion. A narrative from the HMS Yarmouth assigned to the 3rd Light Cruiser Squadron reported: "The 1st Light Cruiser Squadron broke through the center of our squadron as we made to the eastwards. Rear Admiral Arbuthnot's Squadron then wheeled round to starboard on a westerly course and opened fire on a German light cruiser (the SMS Wiesbaden) which hove into sight on our starboard bow. Apparently Admiral Arbuthnot was anxious any enemy that might turn up and he pressed forward with great impatience. His squadron looked a very fine sight, turning and firing in succession but almost immediately they found themselves within close range of the German battle cruisers and battleships. Before they could turn away -- there was practically no direction clear to which they could turn -- they were being concentrated upon by overwhelming gunfire from the enemy ships. The armoured cruiser HMS Defense and HMS Black Prince were beaten and blew up. The H.M.S. Warrior drifted out of action helpless and in flames. The only ship of the squadron to escape was the H.M.S. Duke of Edinburgh which hauled away northward in time." The loss of the H.M.S. Defense and her 903 man crew including Admiral Arbuthnot was instantaneous. The HMS Black Prince sank several hours later. An attempt to tow the HMS Warrior ended that night when the ship sank. |
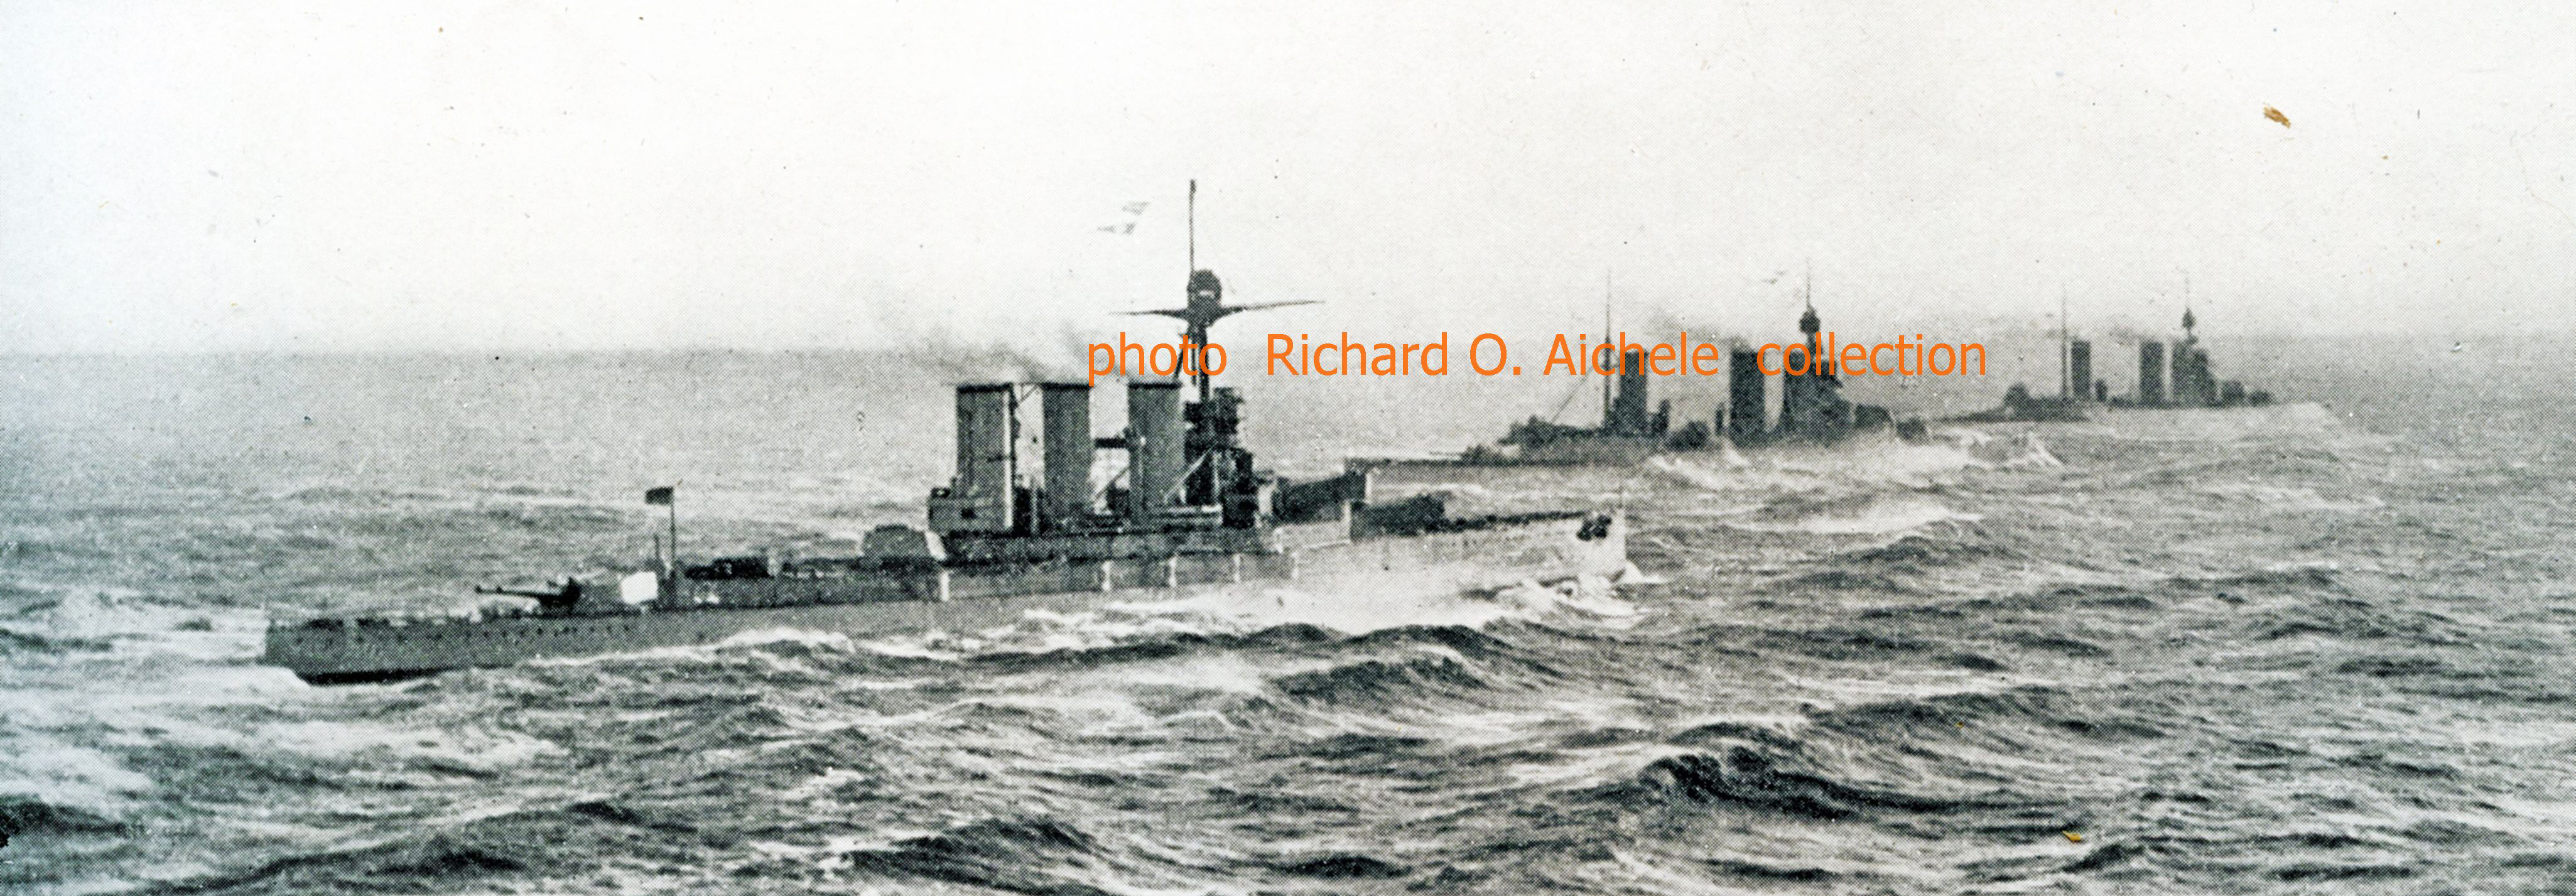
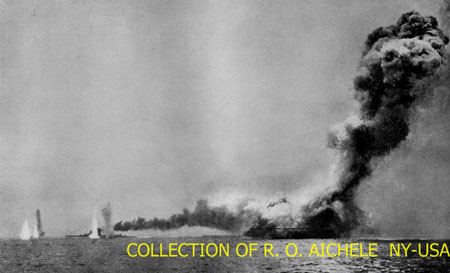 Photo shows the HMS Queen Mary exploding and sinking while on the left another salvo from the German High Seas Fleet is falling around the H.M.S. Lion.
 "As the indirect result of a German shell penetrating the roof of the turret, 10 minutes after the action started, a cordite fire occurred in the "Q" turret which very nearly resulted in the magazine and so the ship blowing up."

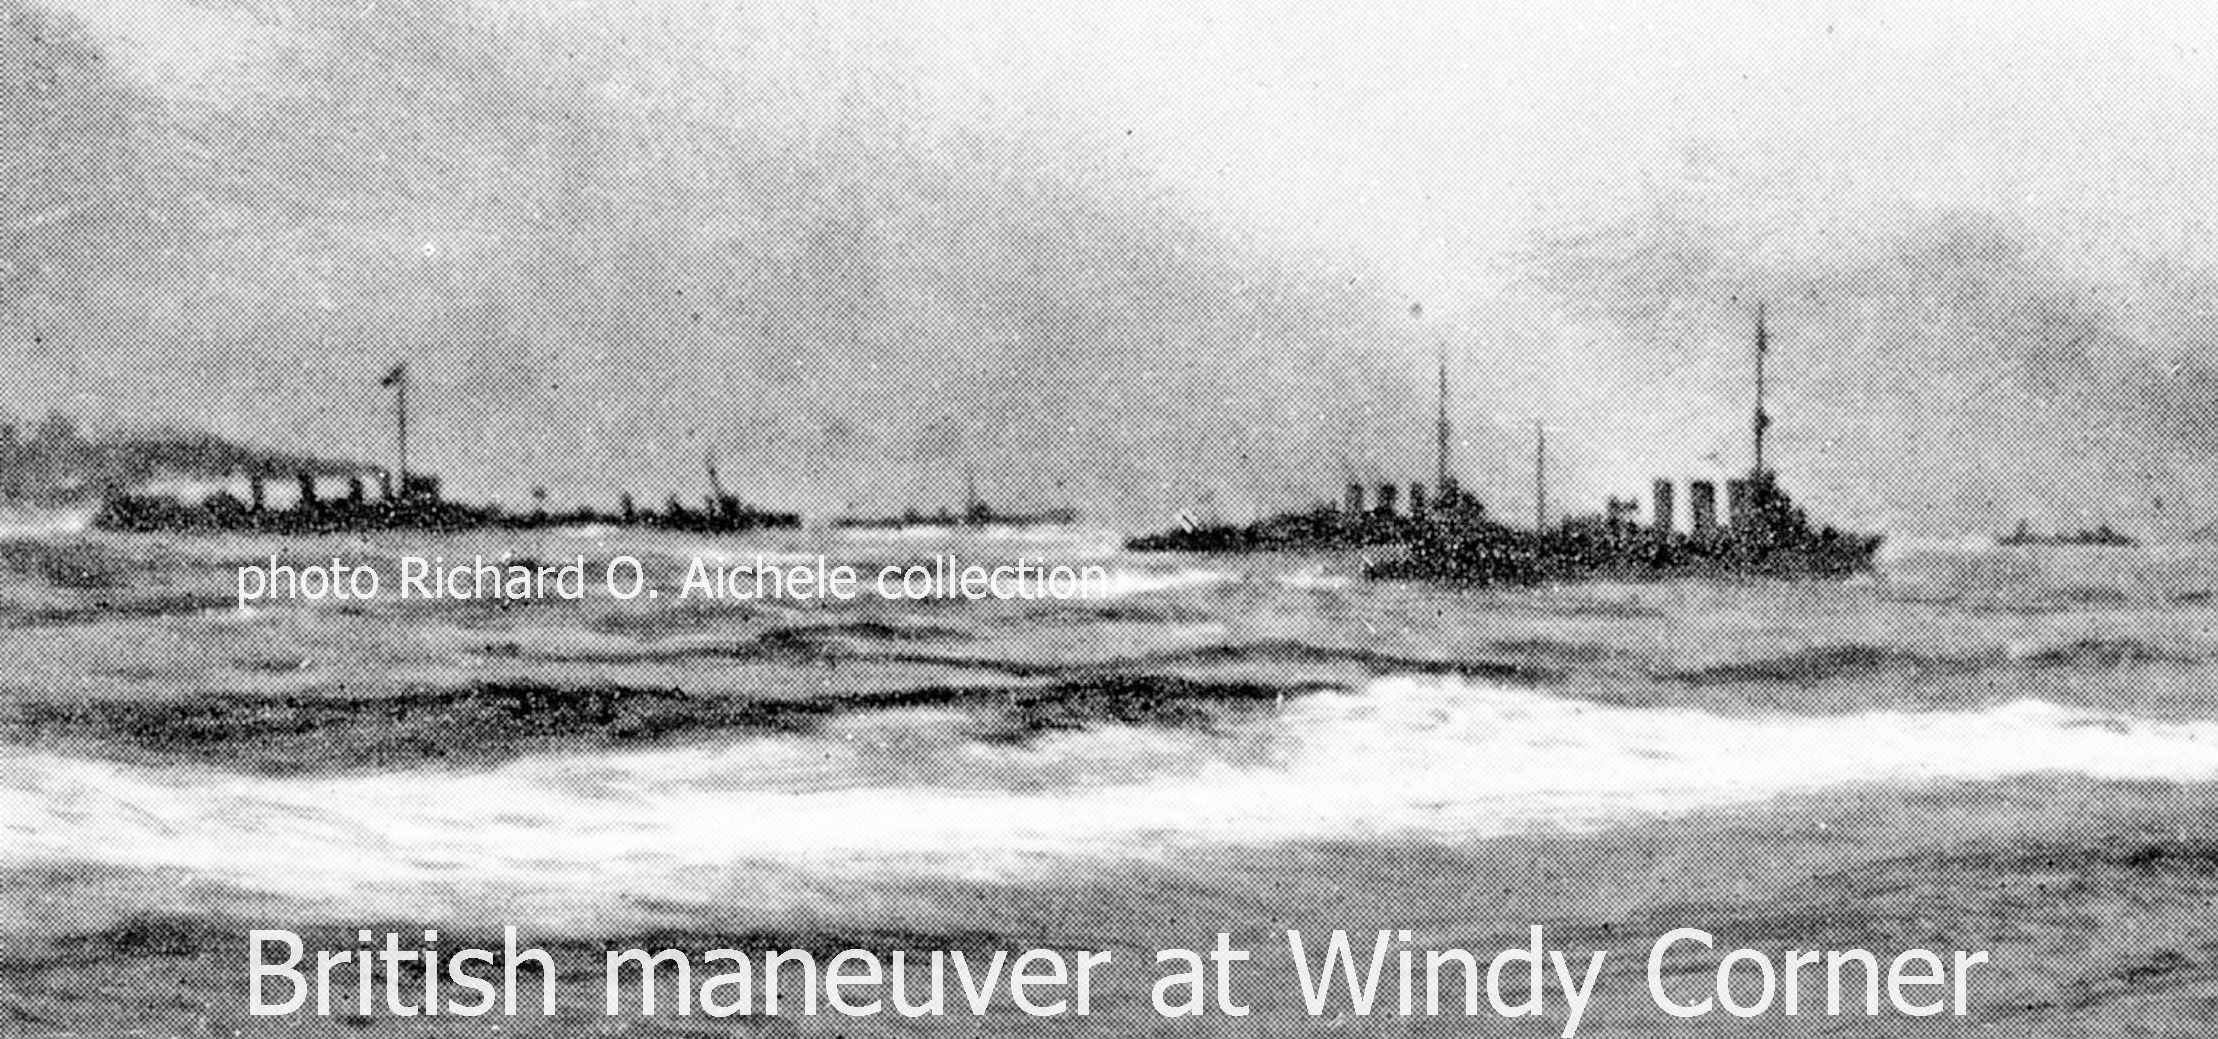 Windy Corner was the junction of the Grand Fleet with the Battle Cruiser Fleet. According to one of the British Fleet's light cruiser officers, "Apart from he risk and excitement of fifteen or twenty large ships and thirty or forty small ships all converging on to a point from every direction, the Germans were concentrating a heavy fire into the "brown" of the turning point so that the whole ocean was torn up by shell splashes and the noise was terrific. Every ship was steaming st high speed and the majority of them were vigorously replying to the German fire by firing their own broadsides over the heads of any light craft that lay between them and the enemy.
Four major British ships with a total of 4,208 crew members were lost in two and a half hours due to explosions of the ships' magazines. The HMS Defense was the fourth ship. Only the HMS Lion avoided total destruction because the threatened magazine was flooded in time. Technical viewpoints and a video of a dive expedition onto the sunken HMS Defense and the HMS Invincible discussing magazine and explosives safety at sea can be found at these links below: |
Exploring the Battle of Jutland's Sunken Warships The expedtion in this video had the goal of determining what caused the explosions that sank the four British warships. After the battle, for reasons explained in the video, the explanation, or theories, for the loss of the four ships and over 4,000 sailors in such a catastrophic manner was a "sensitive" subject both at the British Admiralty and the British government for many years. This expedition's first dive was on the HMS Defense. One conclusion was that a shell had penetrated into ammunition spaces at the aft of the ship causing "a propogation of propellant," also called a flash fire, from aft to forward " down the ammunition passageways finally denotating the forward magazine." It mentions finding that turret roofs appear to have been blown off possibly by the forces passageway explosions below as they vented upward through the vertical turrets' Main Trunks. The second dive on the HMS Invincible found evidence of mishandling of the cordite propellant. Cordite charges appeared to have been left out of their protective canisters to speed their transfer up and into the turret guns to maintain a high rate of fire. Interestingly, the answers to the questions of "why" are being discovered with greater accuracy than was possible during the last 103 years.
The Yanks Are Coming
Discovering Lost Seamen 92 Years Later Many answers about the fate of the Great War's naval ships that were lost in battle are now being found with modern search sonar, explored with modern deep sea submersibles and where possible human divers. The researchers always keep in mind that the shipwrecks are considered to be the war graves of the sailors who went down with their ships.
The 71.5 meter long, 838 ton submarine U-106 of the Imperial German Navy commanded by Kapitanleutnant Hans Hufnagel and a crew of 41 sailed from Emden, Germany on September 8, 1917 for a patrol to the southwest coast of Ireland. Two British ships were attacked and sunk including a British warship. On October 6, the U-106 was on a course in the North Sea along the Dutch island of Terschelling enroute back to Emden. Radio contact with the U-106 was made in the early morning of October 7 after which nothing was heard from the submarine again. According to a Dutch Navy statement, "Probably the boat ended up in a minefield. The ship remains at the place where it was found and has become a war tomb. It is possible there may be a memorial ceremony at sea if any surviving relatives exist." Navy Captain-Lieutenant Spoelstra said this discovery was a coincidence. "A decade ago a ship of the hydrografische service passed over the same spot but then the boat lay under low sand cover." Photo above: A World War I U-Boat similar to the U-106
Information Works Inc. Great War Histories The Great War (1914-1918) Soldiers Remembering the Missing i- The Great War (1914-1918) Revisit the Western Front 50 Years Later |
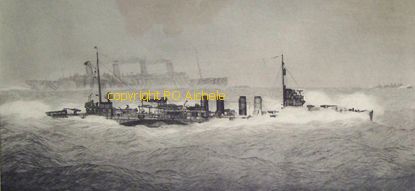 In 1918, with the United States in the war, the wartime convoys began carrying thousands of American troops and provisions to the Western Front. The fast convoys were made up of some of the great four stack former luxury British and seized German ocean liners that had been rebuilt and put into service as troop transports. The rendering by noted naval artist Burnell Poole shows a U.S. Navy four-stack destroyer in heavy seas while escorting the fast ocean liner - troop ships for the first several hundred miles eastbound from the U.S. The convoys were met by other escorts as they approached the English coast. In the era of coal-fired boilers, the four-stack destroyers did not have the sailing range to provide escort service across the Atlantic Ocean. At mid-ocean, the troop transports sailed without the destroyer anti-submarine escorts.
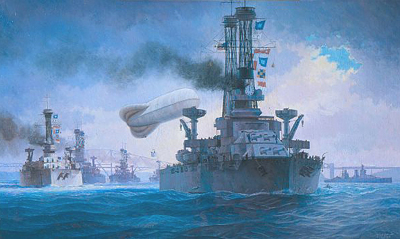 The major surface fleet actions such as the Battle of Jutland were history. By 1918. the German High Seas Fleet was effectively blockaded in its ports but still represented a strong naval presence -- or to the British -- a strong naval threat that could appear at any time. To reinforce the British navy, the United States sent numerous naval vessels to England including what became the 6th Battle Squadron of the British Grand Fleet. This photo of an oil painting by artist Burnell Poole shows the U.S. Navy's 6th Battle Squadron sailing on a sortie from the British Firth of Forth naval base.
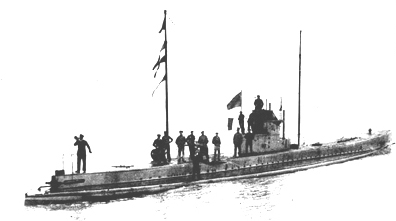 In October 2009, a Dutch navy research ship mapping the ocean floor in the area of Terschelling discovered what appeared to be the wreck of a submarine. It was subsequently identified as the U-106 and the German government sought to notify any family members of the U-106's crew.